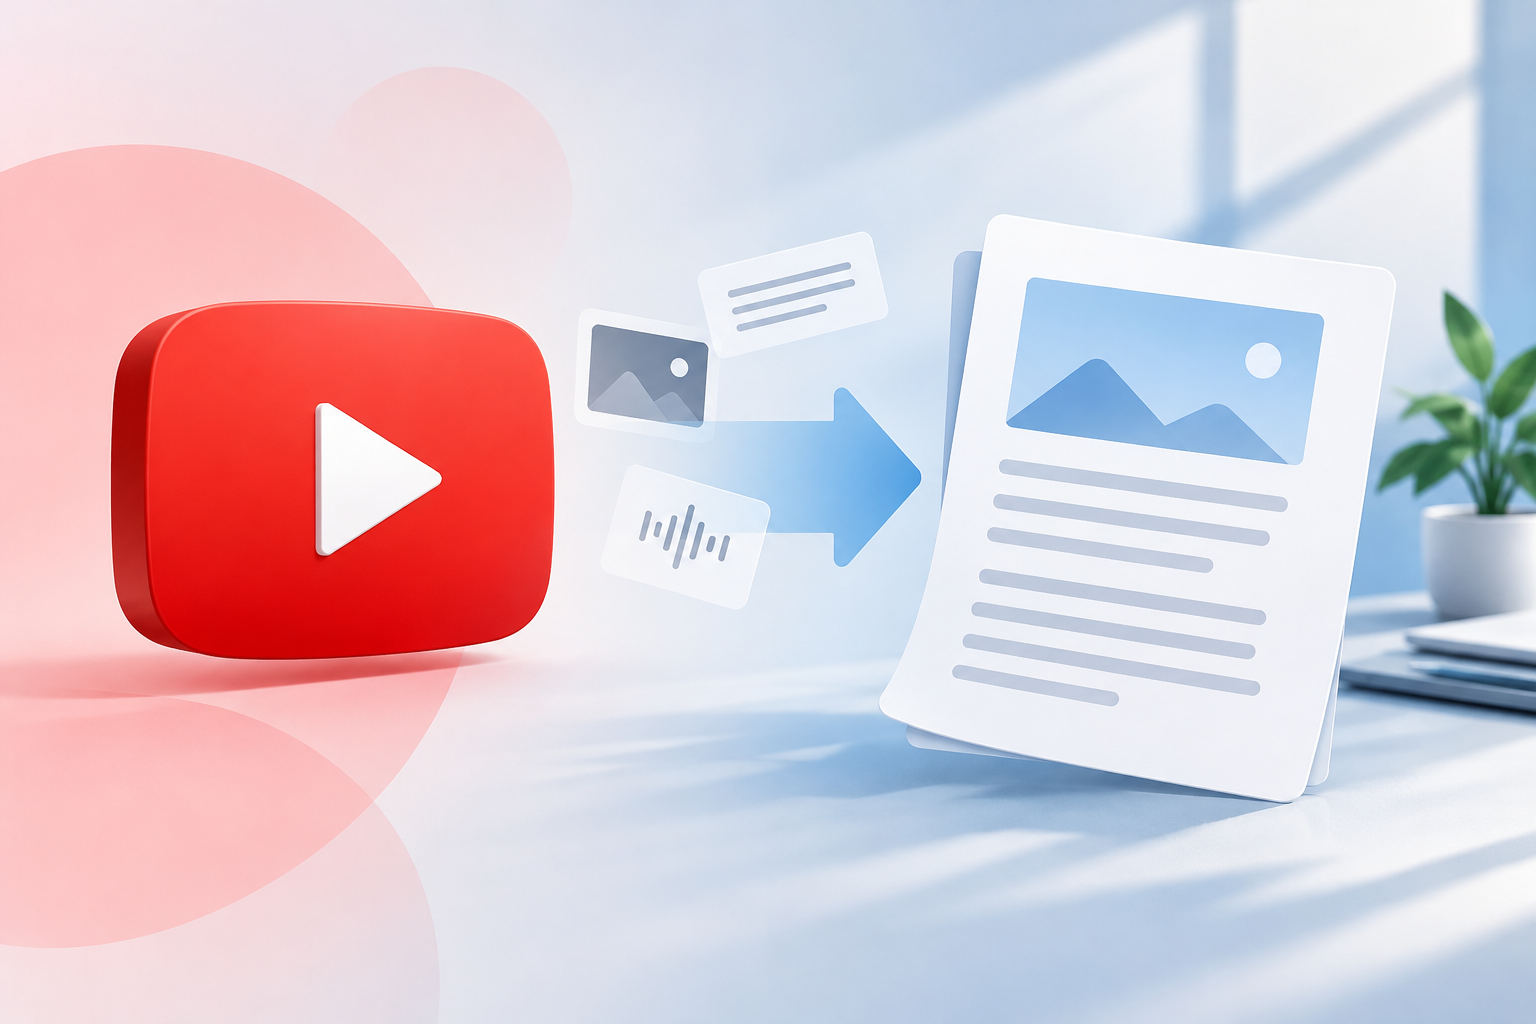
A youtube video to blog post workflow means turning a video’s spoken content into a structured article with a clear headline, useful subheads, and search-focused edits. The fastest way to do it is to pull a transcript, identify the main argument, reorganize the best points for readers, and then edit the draft so it reads like a blog post instead of a raw transcript.
Key takeaways
- A transcript is a starting point, not a finished draft: A blog post needs a new structure because readers scan while viewers follow a timeline.
- The best source videos are focused and teach one clear idea: A short, tightly scoped video usually converts into a stronger article than a broad recording with many topics.
- Search value comes from editing, not copying: Adding definitions, examples, headings, and direct answers makes a converted post more useful for both readers and search engines.
- A repeatable workflow saves time across channels: One video can feed a blog post first, then branch into social posts, email, FAQs, and summaries.
Most videos do not fail as blog posts because the ideas are weak. They fail because spoken content and written content behave differently. A speaker can repeat points, wander into side notes, or rely on tone and visuals. A reader wants a clear structure and quick answers. If you want to turn a video transcript into a post people will find and finish, you need a simple process. This guide shows you how to plan, draft, edit, and publish a youtube video to blog post conversion that feels written for the page. You will also see where content repurposing fits into a repeatable system, not a one-off task.
What you need before you start
You need a focused video, a usable transcript, and a reader question before you convert a youtube video to blog post format. Beginners often start with the wrong asset. A 45 minute panel discussion with five side conversations is much harder to convert than an 8 minute tutorial with one promise and three supporting points. Pick a video that answers one concrete question, such as “how to price freelance design work” or “how to clean product photos for Shopify.”
Before writing, gather these inputs:
- The original video: Watch it once at normal speed so you understand tone, examples, and the order of ideas.
- A transcript: Use YouTube’s built-in transcript if it is available, then clean obvious errors before drafting.
- A target reader: Write down who the post is for and what job they need to do after reading it.
- A search angle: Choose one main query and a few natural variations instead of trying to rank for every possible phrase.
- A conversion goal: Decide whether the post should drive an email signup, a product page visit, or another next step.
If you are building a larger workflow around content repurposing, keep your source files in one place and name them clearly. That simple habit saves time when you later need social clips, summaries, or supporting posts. It also helps to know the difference between reuse vs repurpose, because reposting a transcript is reuse, while restructuring the ideas for a blog reader is repurposing.
Step 1: Get a clean transcript for your youtube video to blog post
A clean transcript gives you the raw material for a youtube video to blog post draft, but it still needs editing before it becomes useful written content. Transcripts often include filler words, repeated sentences, false starts, and misheard terms. If you skip cleanup, you will spend more time untangling the draft later.
- Open the transcript and scan for obvious mistakes in names, product terms, and numbers.
- Remove filler such as “um,” “you know,” and repeated openings that work in speech but slow down reading.
- Break the transcript into rough sections based on topic changes, not timestamps.
- Highlight any quote, example, or line that sounds unusually clear. These often become subheads or pull points in the article.
- Mark missing context where the speaker points to slides, gestures on screen, or says “as you can see here.” Those parts need replacement text in the article.
A transcript becomes easier to shape when you separate ideas from delivery. Spoken delivery includes pauses, emphasis, jokes, and transitions that do not belong in the article. Written delivery needs definitions, examples, and short paragraphs. According to Google’s helpful content guidance, content should be made for people first, which means your draft should answer the topic clearly without forcing readers to decode a spoken script.
Step 2: Pull the main argument from the youtube video to blog post transcript
The best way to convert youtube video to blog post format is to find the one claim or lesson that holds the whole piece together. Many beginners try to keep every sentence. That creates long, unfocused posts that read like meeting notes. Your job is to decide what the article is actually about, then cut what does not support that point.
Ask four questions while reviewing the transcript:
- What is the primary promise? State it in one sentence. If you cannot, the article will wander.
- Which three to five points carry the promise? Those points usually become your main sections.
- What examples make the topic easier to understand? Keep examples that teach. Drop anecdotes that only filled time in the video.
- What does the reader need that the viewer did not? Written content often needs definitions, links, screenshots, checklists, or a table.
This is also where keyword choice becomes easier. If the video teaches one process, your blog post can target that process directly. If the video mixes strategy, opinion, and news, split it into separate pieces instead of forcing one article. For more ways to branch one source into multiple assets, the post on content repurposing examples shows how a single source can turn into several useful formats without copying and pasting the same message everywhere.
Step 3: Build an outline before you write
An outline turns a transcript into a readable article because it replaces the video’s timeline with a reader-first structure. Videos unfold in time. Blog posts should answer the question early, then explain the method and tradeoffs before covering next steps. The outline is the point where your content stops being a transcript and starts becoming a post.
A simple outline for a beginner-friendly article often looks like this:
- Direct answer to the topic in one or two sentences.
- Brief context on why the topic matters or where people get stuck.
- Step-by-step method.
- Worked example.
- Common mistakes and fixes.
- Conclusion and next action.
If your video contains several ideas, sort them by reader value, not by the order the speaker mentioned them. A spoken introduction may take two minutes to warm up. A blog reader may leave if the answer is buried that deep.
| Approach | Best for | Risk | What to do |
|---|---|---|---|
| Manual rewrite | Short expert videos with strong wording | Slow if the transcript is messy | Outline first, then rewrite section by section |
| AI draft from transcript | First-pass speed | May keep filler or weak structure | Use AI for extraction, then edit heavily |
| Hybrid workflow | Most beginner teams | Can skip human judgment if rushed | Clean transcript, create outline, draft with assistance, then edit |
If you use ContentPod, keep the role of each tool clear. The product’s Interview tool turns one interview into multiple formats, including a blog post, FAQ, executive summary, social posts, and a video script. That is useful when your source content already exists as an interview or conversation. For standard long-form drafting and SEO edits, the writing tools and SEO Analyzer help after you have decided on the article’s angle.
Step 4: Write the draft like a reader, not a viewer
A strong draft reads as if it were written for the page from the start, even when the source was a video. This is where many youtube video to blog post efforts lose quality. The writer keeps spoken phrasing, leaves long paragraphs untouched, and assumes the reader saw the original visuals. Your job is to make the article stand on its own.
- Write a direct opening answer. Put the definition or main takeaway in the first paragraph.
- Turn each major point into an H2 with a clear claim or action.
- Replace spoken transitions such as “so yeah” or “moving on” with useful subheads and short bridge sentences.
- Add missing context wherever the original video relied on slides, charts, or screen recordings.
- Use examples that make the step easier to follow. If the speaker gave a vague example, tighten it for the article.
- Cut repetition unless the repeated line helps emphasize a key warning.
Search value comes from the edit. According to HubSpot’s marketing statistics roundup, video remains a large part of marketing work, which is exactly why turning a single recording into a useful article matters. You already did the work of explaining the idea once. The blog post gives that idea a second life for people who prefer reading and helps with search visibility and internal linking across your site.
As you draft, think about where the article fits in your larger publishing system. If you also care about answer engines and snippet-friendly formatting, the guide on content repurposing for ai search is useful because it shows how short, self-contained paragraphs are easier for AI systems to quote accurately.
Step 5: Add search value that was missing from the video
A video rarely contains all the context a search-driven article needs, so you should add definitions and direct answers, with comparisons where useful. This step matters because a person arriving from search may never watch the original video. The article has to solve the problem on its own.
Add these elements when they help:
- A definition paragraph: Explain the topic in one sentence early in the post.
- A comparison table: Useful when the video mentions multiple tools, methods, or pricing models.
- A checklist: Helpful for tutorials where readers need a quick action summary.
- Internal links: Point readers to deeper material on related topics so the post connects to your content library.
- A FAQ section: Answer short questions that did not fit smoothly into the main body.
Do not add filler just to make the article longer. Add only the material that improves the reader’s chance of succeeding. For example, if the speaker says “pick the right topic,” your article can improve that advice by listing criteria for a good topic. If the speaker mentions “SEO,” your article can specify whether that means keyword intent, heading structure, internal links, or topical relevance.
Step 6: Turn one youtube video to blog post with a worked example
A worked example shows the full youtube video to blog post process more clearly than abstract advice. Imagine you recorded a 12 minute YouTube video called “How to prepare for a sales discovery call.” The speaker covers preparation mistakes, a five-part checklist, and one short story about losing a deal by skipping research.
Here is how you would convert it:
- Extract the transcript: Pull the YouTube transcript and correct terms like CRM, ICP, and product names.
- Find the core promise: “A better discovery call starts before the meeting, not in the meeting.”
- Pick the article angle: Instead of “thoughts on sales calls,” the post becomes “How to prepare for a sales discovery call.”
- Build sections from the strongest points: Research the account, identify the likely pain point, prepare questions, define the next step, and avoid over-talking early.
- Add missing written context: The video may gesture at a prep sheet on screen. The article can turn that into a short checklist readers can copy.
- Use the story selectively: Keep the lost-deal story if it proves why preparation matters. Trim it if it repeats the same lesson twice.
- Write the opening answer: “Preparing for a discovery call means researching the account, choosing the questions you need answered, and deciding what a good next step looks like before the call starts.”
- Finish with a next action: Offer a downloadable checklist, link to a related guide, or point the reader to the original video for tone and nuance.
The final post may be better than the video for some readers because it is easier to skim and share internally. If you publish often, this is where a system matters. One interview or explainer can produce a blog post first, then branch into social and email. ContentPod’s Interview tool was built for that kind of multi-format output when your source asset is an interview, and the same thinking applies to any repurposing workflow you want to make repeatable.
Common mistakes that weaken your youtube video to blog post
Most problems in a youtube video to blog post workflow come from copying the transcript too closely or skipping the edit that makes the article readable. The fix is usually simple once you know what to look for.
- Mistake: Publishing the transcript with light cleanup only. Fix: Rebuild the post around headings, a direct answer, and fewer repeated ideas.
- Mistake: Keeping the video’s full chronology. Fix: Reorder points so the article answers the query early and puts the most useful material first.
- Mistake: Forgetting that visuals carried part of the meaning. Fix: Add text for charts, demos, slide notes, and on-screen examples.
- Mistake: Trying to preserve every sentence. Fix: Keep only the strongest lines and strongest examples. Cut the rest.
- Mistake: Writing for the speaker’s ego instead of the reader’s task. Fix: Ask what the reader needs to do after reading, then structure around that job.
- Mistake: Treating repurposing as an isolated tactic. Fix: Fit the post into your broader editorial plan, including updates, internal links, and follow-on assets.
If you are building that broader plan, the post on content calendar planning b2b is a helpful follow-up because publishing converted posts works better when each piece has a clear place in the calendar instead of arriving as a random extra.
Conclusion: Making the Most of youtube video to blog post
A good youtube video to blog post workflow is simple: start with a clean transcript, decide on one reader-focused angle, rebuild the material into a clear outline, and then edit for search intent and readability. The article should answer the question faster than the video did, add written context where the video relied on visuals, and give the reader a next action that fits your business.
If you want to make this process repeatable, build a small system around it. Save transcripts, keep reusable outlines, and decide which videos deserve full articles. When you need help turning source material into multiple formats, ContentPod can support the writing and repurposing side without forcing you to start from a blank page every time. Bottom line: a youtube video to blog post works when you rewrite for readers, not when you paste a transcript and hope it ranks.
Frequently Asked Questions
What is youtube video to blog post?
Youtube video to blog post is the process of turning the spoken content from a YouTube video into a written article with a headline, headings, examples, and edits for readability. A proper conversion does more than transcribe the video because a blog post needs structure and context that spoken content often lacks.
Can I convert a YouTube video to a blog post without rewriting everything?
You can convert a YouTube video to a blog post without rewriting every line, but you still need to restructure the material. The fastest approach is to keep the strongest ideas and examples from the transcript, then rewrite the opening, headings, transitions, and any sections that depended on visuals or spoken tone.
How long should a blog post from a YouTube video be?
A blog post from a YouTube video should be as long as the topic needs, not as long as the transcript allows. A focused 8 to 12 minute tutorial often turns into a solid article of 1,000 to 2,000 words, while a short opinion clip may work better as a brief post, FAQ, or social thread instead of a full article.
References & Further Reading
- View video transcripts and captions on YouTube
- Google Search Central: Creating helpful, reliable, people-first content
- HubSpot Marketing Statistics
- Content Repurposing Guide
Put this into practice
Share this post
You Might Also Like
Discover more content tailored to your interests
 Highly Relevant
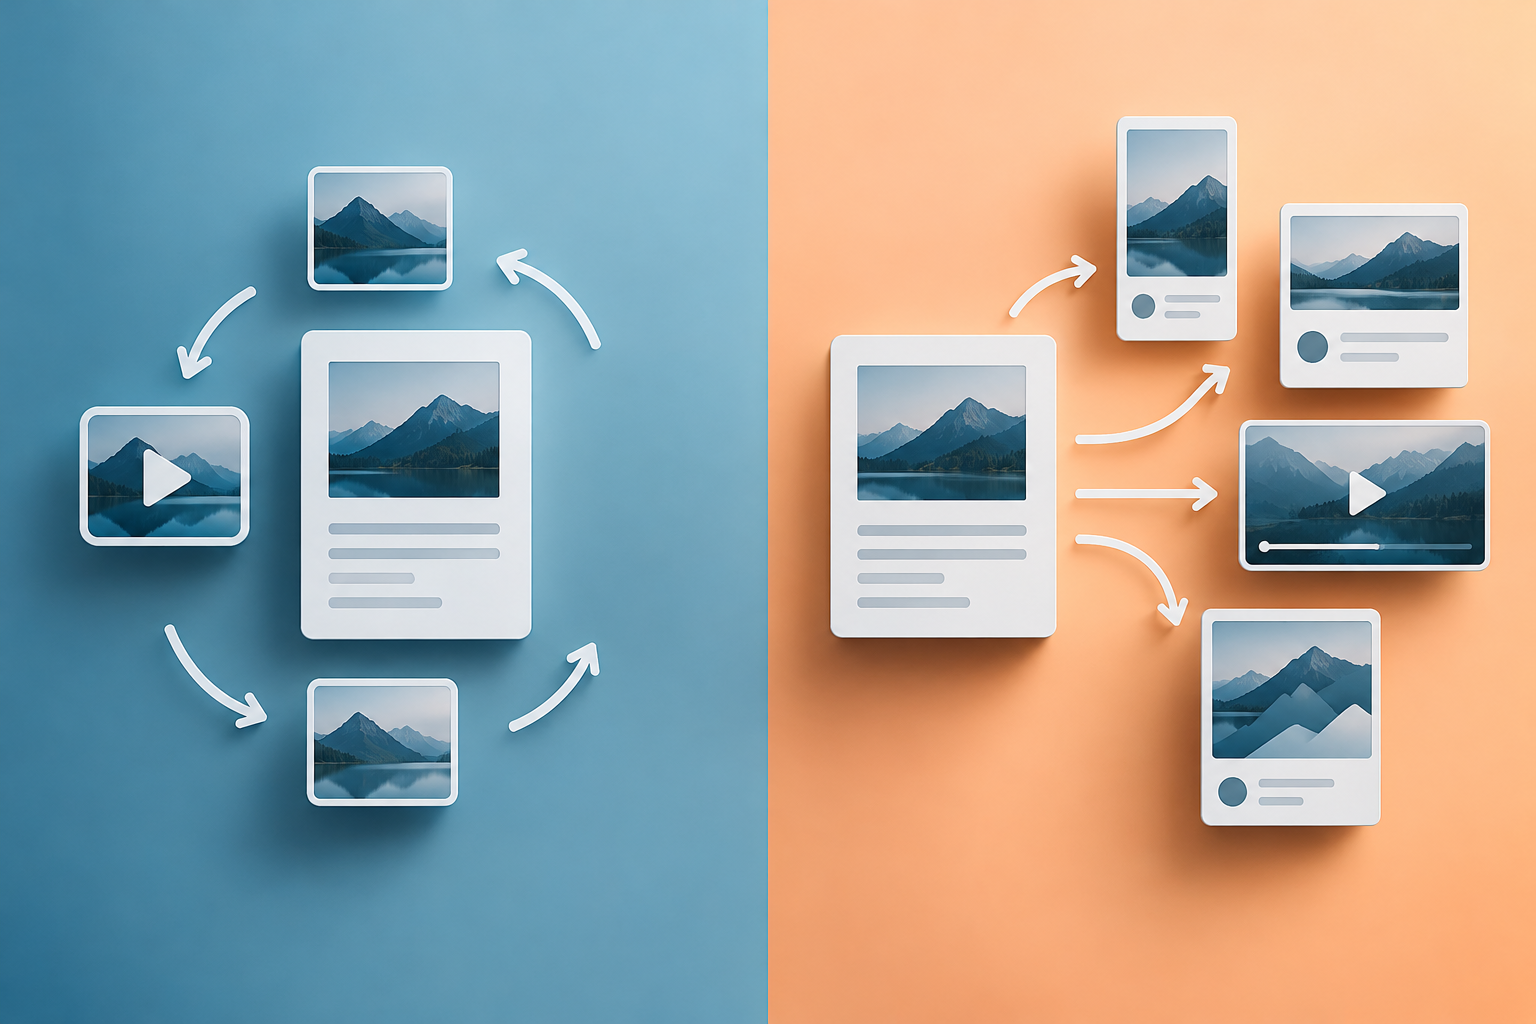
Reuse vs Repurpose: What Content Teams Do Next
Reuse vs repurpose means this: reuse is publishing the same content again with little or no change, while repurpose is adapting one source into a new format, angle, channel, or audience-specific asset.
Read More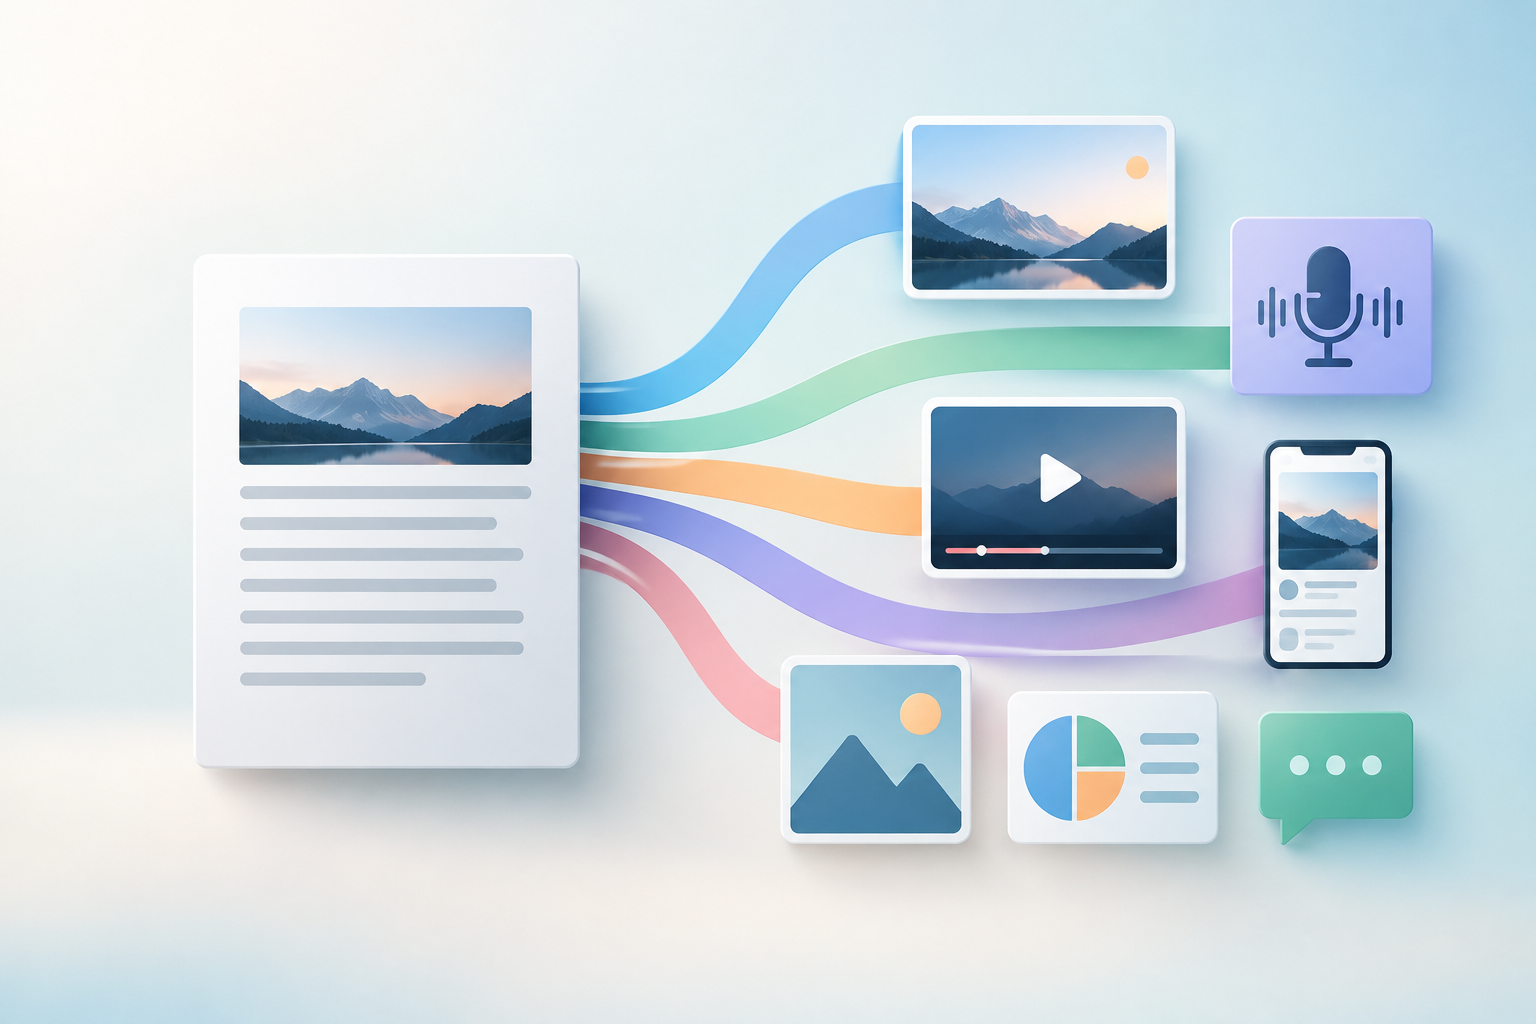 Highly Relevant
Content Repurposing Examples from One Source
Content repurposing examples are practical ways to turn one original asset, such as a webinar, interview, or blog post, into multiple formats like social posts, email copy, short videos, FAQs, and downloadable guides.
Read More Highly Relevant
Content Repurposing for AI Search That Gets Cited
Content repurposing for ai search is the practice of turning one strong source asset into multiple short, self-contained, well-structured pieces that AI answer engines can quote, summarize, and surface for user questions.
Read MoreReady to create amazing podcast content?
Choose a plan and start generating professional podcast content with AI
View Pricing Plans